
Convert Your Normal Picture to High Quality Sunlight with AI Photo Editing Prompts 2026 – The Prompt Baba
 By Sudip Jana
0 Comments
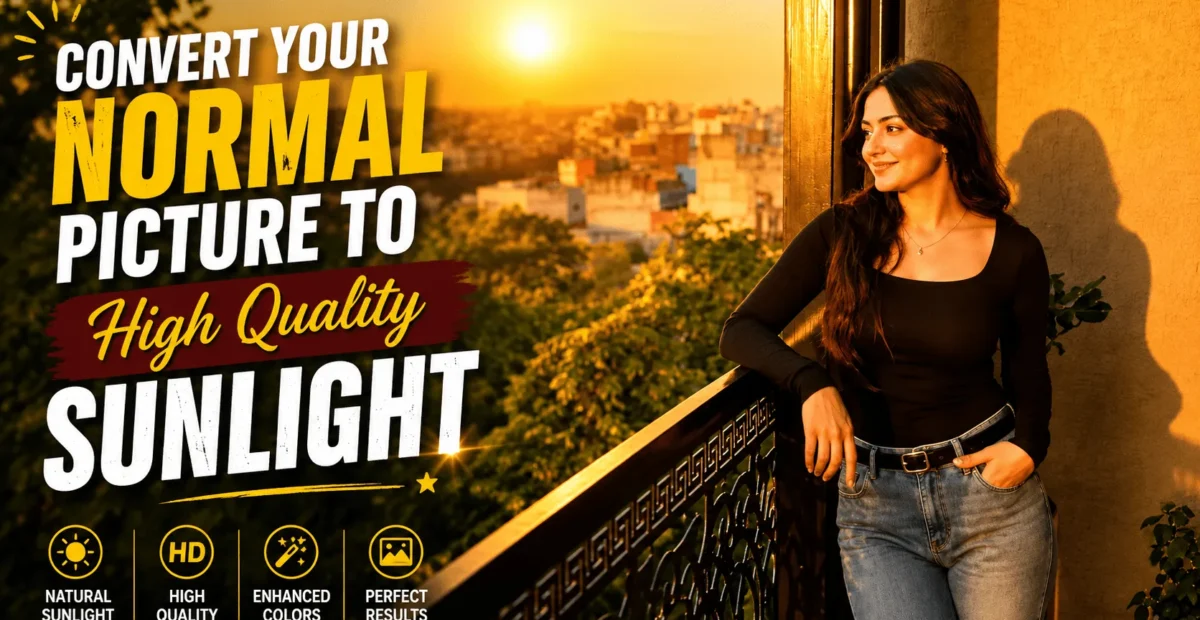
Have you ever taken a photo that looks dull, flat, or poorly lit and wished it had a warm, golden sunlight effect? With AI photo editing prompts, you can transform an ordinary selfie or portrait into a bright, cinematic image with realistic sunlight, soft shadows, and beautiful golden-hour colors.
In this guide, you will discover how to convert your normal picture to high quality sunlight using AI. You will get two ready-to-use prompts, learn which photos work best, explore useful AI editing tools, and find practical solutions to common editing problems.
What Does It Mean to Convert Your Normal Picture to High Quality Sunlight?
Converting a normal picture to high-quality sunlight means enhancing its lighting to create the appearance of natural sunlight. AI can add warm highlights, realistic shadows, golden backlighting, and balanced colors while preserving the subject’s original appearance.
One popular style is golden-hour photography, which recreates the soft, warm light commonly seen shortly after sunrise or before sunset. This lighting style can make portraits look more cinematic, professional, and visually appealing.
The goal is not simply to increase brightness. A good edit should maintain natural skin tones, realistic facial details, and consistent lighting throughout the image.
Why Is This AI Photo Editing Trend Popular?
Many everyday photos are captured indoors, on cloudy days, or under artificial lighting. These conditions can make portraits appear flat or less vibrant than expected.
AI photo editing makes it easier to experiment with different lighting styles without needing professional photography equipment. You can enhance selfies, outdoor portraits, couple photos, and social media pictures with a simple text instruction.
The best results usually come from combining warm sunlight with realistic shadows, controlled highlights, and natural-looking color grading rather than applying an overly bright yellow filter.
2 High-Quality Sunlight AI Photo Editing Prompts
Use the following prompts with an AI image editor that supports uploading and editing existing photos. Upload your original image first, then paste one prompt to create your preferred sunlight effect.
Prompt 1: Natural Golden-Hour Sunlight Portrait
This prompt is ideal for outdoor portraits, selfies, and personal photos where you want warm sunlight without changing the original composition.
AI Prompt:
Enhance the uploaded photo while preserving the person's exact facial identity, facial structure, hairstyle, skin tone, body proportions, outfit, pose, accessories, and original composition. Add soft, realistic golden-hour sunlight coming from the upper-right side, creating warm highlights on the face and hair. Introduce subtle sunlight rays, gentle background glow, natural bokeh, and realistic directional shadows. Improve exposure, clarity, contrast, and dynamic range while preserving natural skin texture and accurate colors. Keep the background consistent with the original photo and avoid artificial lighting effects, excessive orange tones, or overexposed highlights. Professional DSLR portrait photography, balanced HDR, cinematic golden-hour color grading, photorealistic details, high resolution.Prompt 2: Cinematic Sunlight and Warm Backlighting
Choose this prompt if you want a more dramatic portrait with glowing backlighting, atmospheric sunlight, and a polished editorial photography look.
AI Prompt:
Edit the uploaded photograph into a cinematic, sunlit portrait while keeping the subject's identity, natural facial features, skin tone, hairstyle, clothing, pose, and body proportions unchanged. Create warm sunlight behind the subject with soft golden rim lighting around the hair and shoulders. Add subtle volumetric sun rays, realistic light scattering, gentle lens flare, natural background depth, and balanced highlights. Use believable shadows and lifelike skin texture to make the lighting appear physically realistic. Preserve important background details and the original framing. Avoid face distortion, plastic skin, excessive glow, harsh yellow color casts, and unrealistic shadows. Premium editorial photography, natural golden-hour atmosphere, refined warm color grading, high detail, photorealistic finish.How to Use These Sunlight AI Prompts
You can apply these prompts using an AI photo editor that supports image uploads and image-to-image editing. Follow this simple workflow.
- Choose a clear photo that you want to enhance.
- Open an AI image editing tool that supports photo uploads.
- Upload your original picture.
- Copy one of the sunlight prompts from this article.
- Paste the prompt into the editing or instruction box.
- Generate the edited image and review the lighting, face, and background.
- If necessary, adjust the prompt and generate another version.
- Save the final image when you are satisfied with the result.
For a quick starting point, you can try ChatGPT. Availability and image-editing features may vary depending on your account and the tool you use.
What Kind of Photo Works Best?
The quality of your original photo has a major influence on the final result. Use these guidelines to improve your chances of getting realistic sunlight effects.
- Clear facial details: Choose an image where the face is in focus and easy to recognize.
- Balanced exposure: A reasonably bright photo usually provides more useful details than an extremely dark image.
- Simple backgrounds: Uncluttered surroundings can make added light and shadows look more natural.
- Natural skin tones: Start with a photo that does not already have an extreme color filter.
- Good image resolution: A sharp original image gives the editor more detail to work with.
- Visible lighting direction: Photos with some existing light and shadow can be easier to edit convincingly.
Indoor photos can also work well. However, if you ask the AI to change the background or create a completely different environment, the result may differ from the original scene.
Which AI Tools Can You Use?
Several AI platforms offer image generation or editing features. The best choice depends on whether you want a simple workflow, detailed lighting control, or more advanced customization.
| AI Tool | What to Consider |
|---|---|
| ChatGPT | Useful for conversational image editing when image features are available. |
| Adobe Firefly | Offers image creation and editing workflows with creative controls. |
| Leonardo AI | Provides image-generation tools and options for creative experimentation. |
| Gemini | Can support image-related tasks depending on available features. |
| Stable Diffusion | Offers customizable workflows for users comfortable with more advanced settings. |
Features, free usage limits, and subscription requirements can change. Check each platform’s current offering before choosing a tool.
Pro Tips for Realistic Sunlight Effects
- Specify the light direction: Mention whether the sunlight should come from the front, side, or behind the subject.
- Preserve the face: Clearly instruct the AI to keep the person’s facial identity and natural features unchanged.
- Keep highlights balanced: Ask for realistic exposure so the forehead, cheeks, and hair do not become excessively bright.
- Request realistic shadows: Natural shadows help the new lighting blend into the image.
- Avoid excessive warmth: Use balanced golden tones instead of making the entire image orange or yellow.
- Make small adjustments: If the result looks unnatural, change one instruction at a time rather than rewriting the entire prompt.
- Compare multiple results: Generate a few versions when possible and choose the one that best preserves the original photo.
Common Problems and Quick Fixes
| Problem | What to Change in the Prompt |
|---|---|
| Sunlight looks artificial | Ask for physically realistic sunlight and natural photographic lighting. |
| Face appears too bright | Specify balanced exposure and preserved natural skin tones. |
| Skin looks plastic | Request realistic skin texture and natural facial details. |
| Image looks too orange | Ask for subtle golden tones and balanced color grading. |
| Shadows look inconsistent | Specify one clear light source and realistic directional shadows. |
| Face or clothing changes | Repeat the instruction to preserve identity, outfit, and composition. |
| Background looks unnatural | Ask the AI to preserve the original background and its existing details. |
Frequently Asked Questions
Can I add sunlight to a photo for free?
Some AI tools offer free access or limited image-editing features. Availability and usage limits vary, so check the current terms of the platform you choose.
Will AI change my face when editing sunlight?
It may alter facial details in some results. To reduce this risk, use a clear original photo and explicitly instruct the AI to preserve the subject’s identity, facial structure, and skin tone.
Which sunlight style looks most natural?
Soft golden-hour lighting is a popular choice because it creates warm highlights without requiring harsh, direct light. The best style depends on your original photo and the look you want.
Can I edit an indoor photo with these prompts?
Yes. You can ask an AI editor to introduce warm sunlight into an indoor portrait. Results may be more convincing when the requested light direction matches the room and the subject’s surroundings.
Do these prompts work for group photos?
They can work for group photos, but lighting may be applied unevenly across different faces. If needed, ask the AI to illuminate every person consistently while preserving each person’s facial identity.
Why does my edited photo look overexposed?
The prompt may be requesting too much brightness or glow. Add instructions such as “balanced exposure,” “controlled highlights,” and “preserve details in bright areas” to encourage a more natural result.
Conclusion
Converting a normal picture to high-quality sunlight is a simple way to experiment with warm, cinematic portrait lighting using AI. With the right prompt, you can enhance a selfie or outdoor photo with golden highlights, realistic shadows, and balanced colors.
Start with a clear original image, choose one of the two prompts above, and review the generated result carefully. If the lighting looks too strong or the face changes, make small adjustments and try again.
The key is to keep the sunlight realistic while preserving the details that make your original photo unique.
“`